Sunday, July 31, 2011
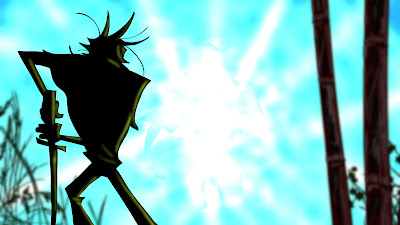
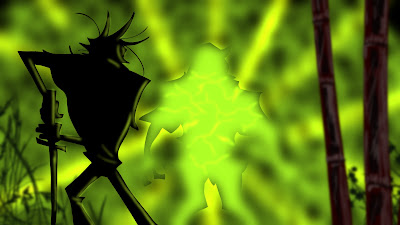
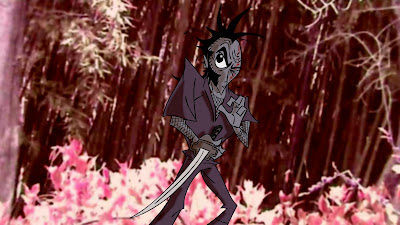
ANIMATE as a compositing program!
Monday, June 13, 2011
Importing swfs From Flash Into Animate
Sunday, July 18, 2010
Another effect in Animate
Very simple - just changed the BRIGHTNESS and CONTRAST valus over the timeline
Friday, April 23, 2010
Invert Matte Step by Step
Step 2. Click on the GLOW layer to bring up the layer properties panel. make your blur RADIAL and make your Blur Radius 2 or 3. Tick 'Invert Matte'
Step 3. In the same panel play around with the color values, and push the alpha to a value of 255 for maximum effect (it's actually best to do this with the scene in render view, so you can see what you are doing, and how the effect is working)
Also - create keyframes to change the color values in the timeline for a 'flashing' explosive effect
And that's it. You can also us this process with the SHADOW effect layer to tint your entire scene
Friday, April 16, 2010
The Invert Matte: My New Best Friend!
 Frame with regular Glow effect


Below is a frame with the Invert Matte Shadow layer beneath the character in the timeline. Only the background is affected

And below the same frame with the Invert Matte layer above the character layer. See how it blends both the character and the background with the same color values?

Just an overview to show what is possible...Email me for a step by step walk through!
Tuesday, September 15, 2009
More Multiplane
Bostie Boys - Scene 3 from Eddie Mort on Vimeo.
Monday, September 7, 2009
More Bostie Boys Animation
Bostie Boys - scene 29A from Eddie Mort on Vimeo.
Everything here was done in Animate, and is a good example how the blur filters and camera can really lift a scene. The mast and rope in the foreground give a sense of depth courtesy of the multiplane camera; just a slight truck in really helps. The bathtub animation is a re-use from a previous post; I created a template of the animation in a previous scene, then assigned all the layers to a PEG so I could motion tween.